Our Location
304 North Cardinal St.
Dorchester Center, MA 02124
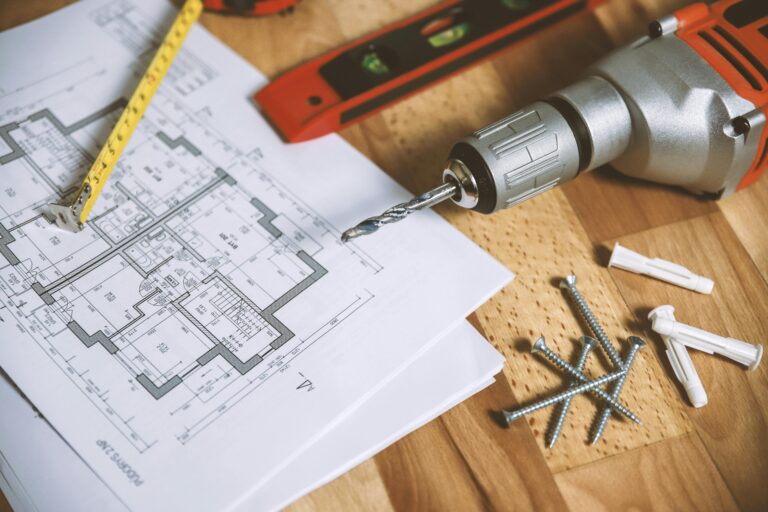
Steps for changing drill bits for 3 types of electric drills
If the drill bit of an electric drill is faulty or damaged, or the drill bit needs to be replaced according to the material of the drilled hole, for example, the tile drill bit needs to be replaced when drilling tiles. At this time, do you know how to replace the drill bit of the electric drill? Different drill bit types have different operating methods and replacement methods. Many friends don’t know how to replace them, so this article will talk about 4 methods of replacing drill bits based on commonly used drill bit types.
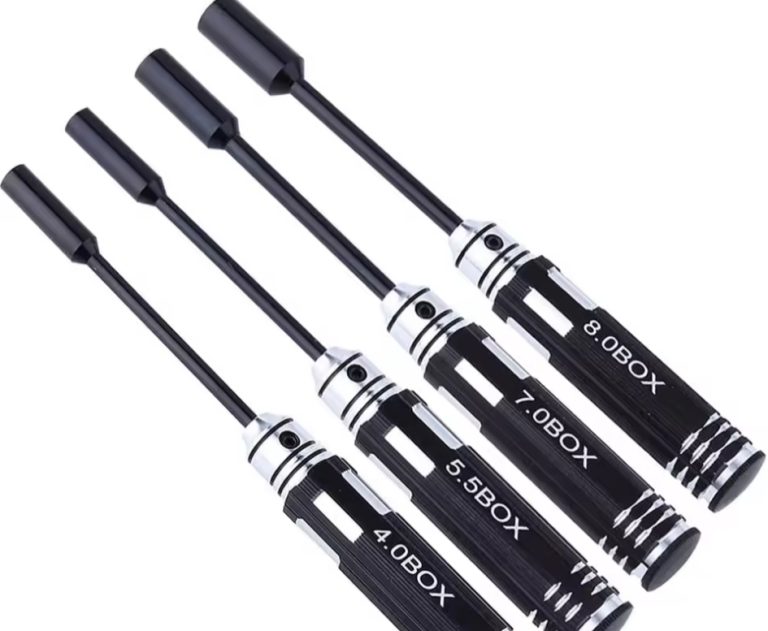
Hand-tight type
The bit position of the hand-tight electric drill is entirely made of steel and has a steel gear structure. Generally, this kind of electric hand drill will come with a “key”. By inserting the “key” into the small hole at the front of the electric drill, you can loosen the electric drill and replace the drill bit.
Specific steps: Prepare relevant tools, such as drill bits that need to be replaced, electric drill keys, etc.; stand the electric drill upright, hold the toothed swivel below and loosen it, and the bite mouth on the drill will loosen; etc. After the bite opening reaches the size of the drill bit, you can insert the drill bit. Pay attention to place it in the middle of the three bite posts. Then turn the loosened swivel in the opposite direction so that it can bite with the drill bit rod; if it is inserted The drill bit is relatively small, so the electric drill will stick out a little when the engagement post is clamped. This is very normal; after clamping the drill bit with the electric tooth ring, use the electric drill key to insert it into the small hole on the steel ring above the electric drill, then turn the key to tighten. This operation needs to be done for several holes; each hole After tightening them all with the electric drill key, the electric drill bit is installed. You must also use an electric drill key to loosen the hole during disassembly.
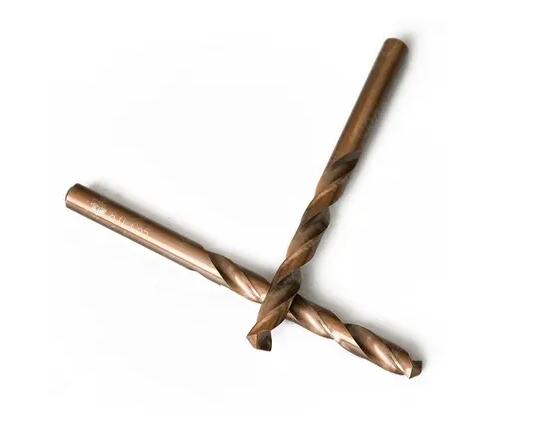
Self-tightening
Self-tightening electric drills generally use threads to fix the drill bit. The front part of the drill bit is made of plastic with anti-slip patterns. Hold the anti-slip textured plastic bolt at the front end with your hands, preferably wearing thick gloves, then slow down the rotation speed, press the switch, and open the “three claw buckles” on the front end of the drill bit that grip the drill bit, and the drill bit can be removed. , then put the new drill bit in and reverse the operation.
Rotation and disassembly
In this comparison, changing the drill bit by hand is more time-consuming. If you accidentally lose the key to the electric drill, it will be even more troublesome. The self-tightening electric drill is more convenient and does not require a drill key, but it requires a lot of effort to control the drill bit, and it is easy to hurt yourself if you are not careful. There is also a convenient and fast way to replace the drill bit. The Vickers 12V lithium battery brushless impact drill WU131X only needs to rotate the chuck to loosen it, put the drill bit into the chuck, and then rotate the chuck to tighten it. By adjusting the chuck The tightness makes disassembly and assembly easy and safe.
To ensure safe use, the tip and drill bit must be installed in place. This WU131X impact drill chuck is made of 10mm Jacbos, with excellent workmanship and stable and reliable clamping. The WU131X impact drill has three modes, namely driver mode, electric drill mode, and impact drill mode. Rotate the icon corresponding to the adjustment ring to the arrow position to adjust to the corresponding mode. The operation is simple and intuitive. The 20+3 gear torque adjustment is also accomplished by rotating the adjustment ring. In actual use, the appropriate torque can be selected according to different working materials. In terms of speed, the maximum speed is 1800 r/min, supporting high and low speed adjustment; the maximum torque is 40N·m, and the high-frequency impact of 27000 rpm supports non-load-bearing walls and lightweight concrete, so it is suitable for daily drilling of brick walls and ceramic tiles. no problem.
There is also a snap-on drill bit. When replacing it, first turn off the power, hold the front end of the electric drill, and then push it in the direction of the grip arm to remove the drill bit. When installing the drill bit, first push it to the bottom and then insert the drill bit. After loosening, the buckle will rebound and block the drill bit. Remember, in order to ensure the safety of the electric drill, you must ensure that the drill bit and drill bit are installed in place. After installing the drill bit, you can try to operate it first to ensure that the installation is correct before starting the operation. Finally, I suggest you bookmark this article so that you can refer to it next time you encounter the problem of how to change the bits of an electric drill.