Our Location
304 North Cardinal St.
Dorchester Center, MA 02124

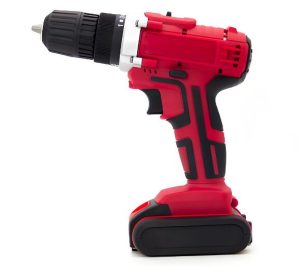
How to disassemble a small cordless drill?
Disassembly methods for small cordless drills often vary depending on the brand, model, and design. However, here are some general steps and tips for your reference:
Prepare tools: First, make sure you have the appropriate tools, such as screwdrivers, wrenches, pliers, etc., to use during the disassembly process.
Turn off the power: Before starting to disassemble, make sure the power to the drill is turned off and the battery is removed (if it is a removable battery).
Remove the case: Locate and remove the screws or clips holding the case in place. These screws are usually located on the bottom, sides, or top of the drill. Some drills may require you to rotate or slide certain parts before you can access the screws.

Separating the Motor and Battery Compartment: Once the casing is removed, you may be able to see the connection between the motor and battery compartment. Depending on the design, further disassembly of these components may be required.
Remove the switch and trigger: The switch and trigger are usually connected to the drill’s circuit board. Carefully disconnect these connections using the appropriate tools.
Separate gears and drivetrain: The gears and drivetrain of a power drill may be connected through a shaft and bearings. You may need to use a wrench or pliers to remove these parts.
Attention to detail: During the disassembly process, pay attention to how and where the various parts are connected. This will help you position them correctly when reassembling.
Cleaning and Repairs: Once the drill is disassembled, you can perform any necessary cleaning and repairs. For example, remove dirt from gears and bearings, replace worn parts, etc.
Reassembly: After cleaning and repairs are complete, reassemble the drill in reverse order. Make sure all parts are placed correctly and all connections are secure.
Testing and Inspection: After reassembly is complete, insert the batteries and test the functionality of the drill. Make sure it operates properly and has no unusual noise or vibration.
Please note that the above steps are for reference only. Because different makes and models of electric drills have different designs, the specific disassembly methods may vary. If you’re not sure how to disassemble your drill, consult the relevant user manual or contact the manufacturer for more detailed instructions. Also, disassembling your drill may affect its performance, so proceed with caution and make sure you have the appropriate skills and knowledge.